






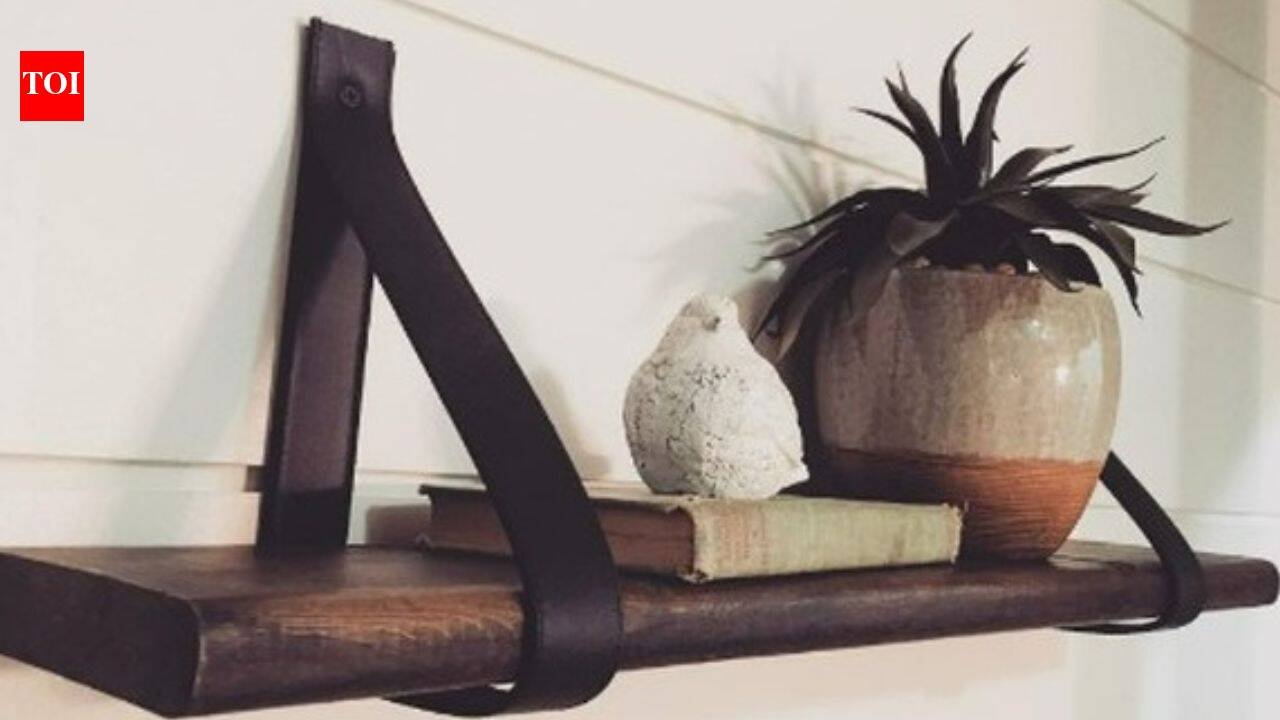
Before you throw away those old belts sitting unused in your wardrobe, take a second look at them. With a little effort, they can be transformed into a truly unique set of brackets that will support a floating shelf and add style to any plain wall. This appeals to anyone who likes giving old items a new lease of life, while also saving money. Instead of buying brackets for the shelves, the belts can be repurposed and turned into a design feature all on their own. The aim of this project is to think creatively and not to use the belts as belt buckles but as a design feature instead
Getting the right kind of belt
It is not enough to simply use any belt, so go through your collection of old ones to find some that can be used for this project. Leather belts are a good option as they can add warmth and character, while good quality fake leather belts can be useful too. Avoid belts that are worn and stretched out, as well as those that are too thin or damaged. It is important to remember that the belt will support the shelf, so it is best to focus on strength rather than the aesthetic appeal. Two belts are needed for this project but it is also possible to go with contrasting colors if you want the bracket to be something of a statement piece.
Getting the right kind of wood
Once the right belts have been found, the next step is to get a suitable piece of wood. This can be obtained from a local hardware store or from leftover wood from another project. Think about the contents of the shelf and the desired aesthetic appeal before selecting the size of the board. A small board may be all that is needed if the shelf is intended for holding photographs and candles, while a larger one may be needed if books, plants and other large items are to be stored there.Sand the wood to get rid of splinters and rough edges and leave it as is or paint/stain it to get the desired effect.
Measure everything out before drilling
Taking accurate measurements will help the finished shelf look much neater in the end. Decide where to hang it and mark out the two belt placements on the wall. This is also a good time to make sure that the distance between them is even so that the shelf itself will be level. Use a spirit level to get everything just right.Now is also a good time to decide on the kind of wall anchors and screws that should be used. If there is any doubt over the kind of structure the wall has or how much weight it can bear, it is best to go with something stronger instead of just the belt as support.
Turning the belts into shelf brackets
The process of turning the belts into brackets is actually very simple. Just slide the belt over the end of the board and make a mark where it should be attached to the wall. Repeat the same process again on the other end and make sure that the two loops are on the same level. The buckles can be left on display if you want the belts to be a design feature, so make sure to go with something that looks nice. Alternatively, it may be best to attach them in a less noticeable place if the buckle does not look good.Once everything has been measured, attach the brackets to the wall securely and hang the board making sure that it is level. You can now start filling the shelf with whatever you like.
Making the shelf a design feature
The great thing about this project is that the finished shelf does not look like a cheap DIY project. In fact, it can be made to look like a real design feature. A natural wood board and brown leather belts can provide a warm rustic appeal, while a black belt and dark wood can provide a more minimalist appeal. If the shelf is for children’s rooms or for more colorful and quirky spaces, it is possible to go with brighter colored belts as well. Remember that the belt is a design feature, so it should not be hidden away.
Where can it all go?
There are a number of different places where the finished shelf can be used. In a bedroom, it can be used to hold small plants, photographs, perfumes and other personal items. In the living room, it can be made into a display shelf for books, candles and souvenirs. It can also be used to hold lightweight office supplies and stationery in a home office. For entryways, it can also be used to hold displays but make sure that heavier items have alternative brackets or hooks. Even if there is only a small amount of space that is completely wasted, a narrow shelf can be made to fill it.
The personal touch
It is always a good idea to make more than one shelf if you have a few old belts lying around. If they are all similar, a couple of shelves can be made at different heights. The same piece of wood can also be used for more than one shelf if it is cut up. Alternatively, different brackets can be used for a more eclectic look.It is also possible to make the shelves more personal by painting or decorating the wood in different ways.As mentioned, the aim of this project is to think outside the box so it is not necessary to disguise the fact that you are using old belts to make these shelves. In fact, using the detail on them can actually make the finished product look even nicer.Although this is a fairly easy project to complete, it is important to remember to hang the shelf safely. Remember that it will all be held up by the belt, so it should not be overloaded, especially if the intended use is for lighter items only. Fragile and expensive items should also be kept well away from the shelf if there is any doubt over the security. Always test out the shelf before using it to make sure that everything is safe and secure.
A little goes a long way
One of the best things about this project is that it enables the user to get a lot out of a little. An old belt that was barely getting any use can now be a prominent design feature while the simple piece of wood can now be a useful storage space. This is a great way to save money while still getting the chance to express creativity. It can also be a lesson to everyone that sometimes older items can be given new life in more ways than one.


