






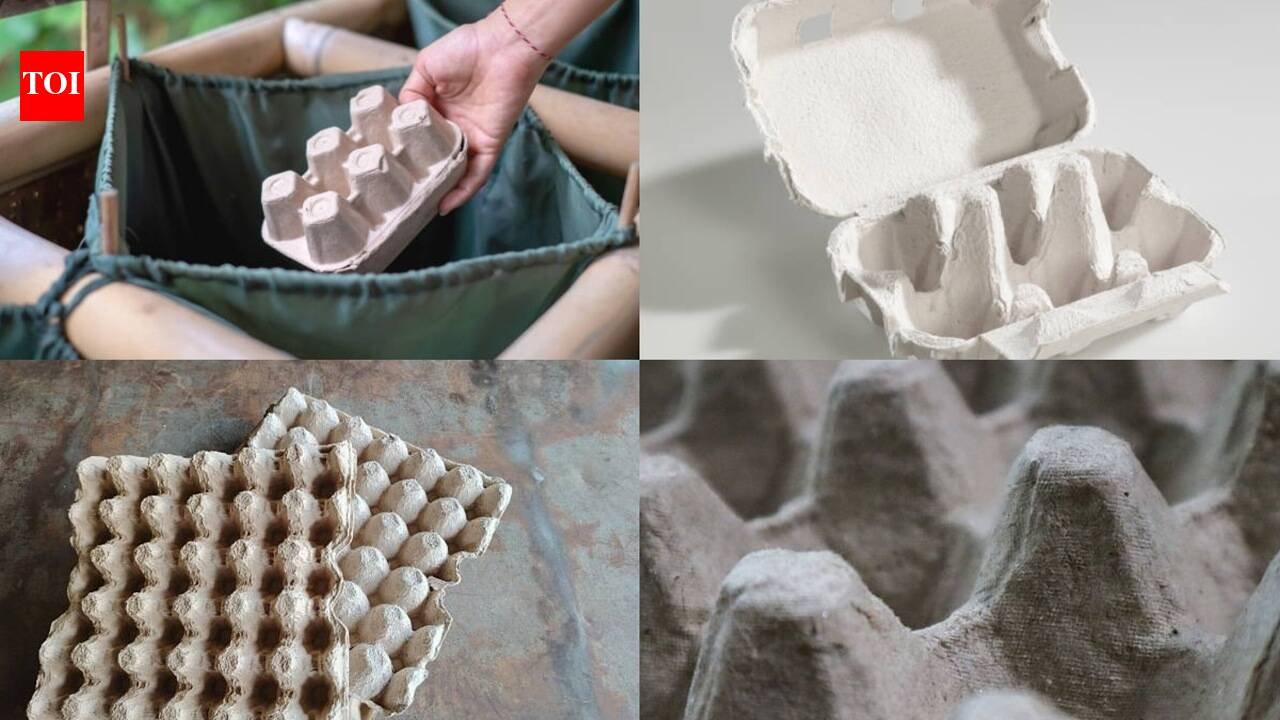
There’s a good chance you’ve got an empty egg carton sitting in your recycling bin right now, and honestly, most of us toss them without a second thought. But that same cardboard carton, the bumpy, cone-shaped kind, happens to be almost perfectly shaped for something genuinely adorable this time of year, tiny witch hats you can use to decorate your fall table, a Halloween party spread, or even a kid’s craft afternoon. It costs practically nothing, takes barely any skill, and turns something headed for the bin into a decoration that looks a lot more intentional than it actually was to make.
Why egg cartons work so well for this
The individual cups in a standard egg carton already have that natural cone shape, tapering to a point at the bottom, which is basically the exact silhouette of a classic witch hat. That’s the whole secret here, you’re not sculpting anything from scratch, just working with a shape that’s already sitting there waiting to be noticed. Cardboard cartons, rather than the foam or plastic kind, tend to work best since they hold paint far more evenly and don’t get that slick, hard-to-colour sheen plastic ones often have.
Cutting out the cone shapes
Start by cutting the egg carton apart into its individual cups, and trim around the top edge of each one so you’re left with a clean, even cone. Don’t worry too much about precision here, slightly uneven edges actually add to the handmade, slightly whimsical charm rather than taking away from it. If a few of the cones come out a bit lopsided or oddly shaped, keep them anyway, since witch hats were never exactly known for being perfectly symmetrical to begin with.
Painting them black, or whatever colour fits your table
Once you’ve got your cones cut out, a coat or two of black acrylic paint is the classic choice, and it’s what instantly makes these look like actual witch hats rather than random bits of cardboard. Let the first coat dry fully before adding a second, since cardboard tends to soak up paint unevenly if you rush it. If your fall table leans more toward warm oranges, deep purples, or mustard yellows instead of a spooky black-and-orange theme, feel free to paint the cones in whatever shade actually matches your table setting, they’ll still read as little witch hats either way.
Adding a brim for that finished look
A witch hat isn’t complete without its brim, so cut small circles out of leftover cardboard, an old cereal box works perfectly for this, roughly the size you want the hat’s base to be. Poke or cut a small hole in the centre of each circle, just big enough for the painted cone to slot through snugly, and paint the brims the same colour as the cones so the whole thing looks cohesive once assembled. A dab of glue where the cone meets the brim keeps everything secure and stops the hat from wobbling around once it’s placed on the table.
The finishing touches that make them look intentional
This is really where the hats go from “cute craft” to “actual table décor.” A thin strip of ribbon, ric-rac trim, or even just a bit of twine wrapped around the base of each cone instantly makes them look more finished, almost like a proper little buckle band. A small fabric bow, a tiny fake spider, or a sprinkle of glitter near the base adds a bit of personality too, and it’s a nice step to let kids get involved with if you’re doing this as a family activity, since there’s plenty of room for them to add their own creative touches without worrying about ruining anything.
Where to actually use them on your table
Once you’ve got a small batch made, these mini witch hats work beautifully scattered across a fall dinner table, perched on top of napkins folded into a cone shape, or placed one per place setting as a tiny, unexpected detail guests will definitely notice and comment on. They also look great grouped together in a small bowl or wooden tray as a centrepiece, or tucked among pumpkins, gourds, and other seasonal decor for a bit of whimsical height variation. For a Halloween party specifically, using them as quirky little cupcake toppers or place card holders adds a playful touch that feels handmade in the best way.
A tiny project with a surprisingly big payoff
What makes this particular craft so satisfying is just how little it costs and how quickly it comes together, especially compared to how charming the final result looks sitting on a table. An egg carton you were about to throw away, a bit of leftover cardboard, some paint, and maybe twenty minutes turns into a handful of genuinely cute seasonal decorations that guests will assume you bought rather than made from recycling. It’s exactly the kind of small, low-effort project that makes a home feel a little more festive without any real expense involved.
Disclaimer:
This article is intended for general informational and craft purposes only. This activity involves cutting and small parts, so adult supervision is recommended if children are participating. Allow paint and glue to dry fully before handling or displaying the finished hats.


