






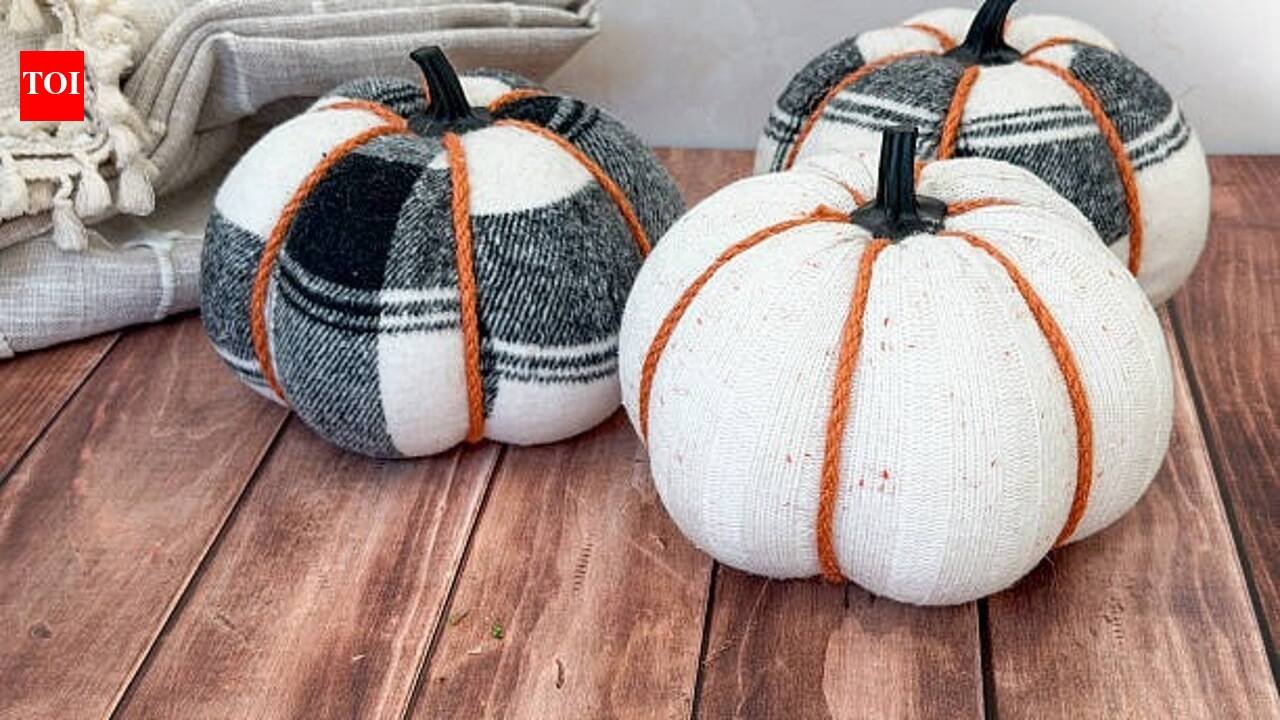
DIY: Don’t throw away old socks turn them into cute decorative pumpkins with this easy craft ideaEvery home has that one drawer of odd socks: the ones with a missing partner, a thin heel or a stretched-out cuff that never quite recovered. Before they head to the bin, consider giving them a cosy second life. With a little rice, a few rubber bands and some thread, an old sock can become a soft, round decorative pumpkin that looks lovely on a festive shelf, a dining table or a window ledge. It costs next to nothing, takes under half an hour and is a fun project to try with children. Here is a simple five-step way to make sock pumpkins at home.
Gather your supplies
You need very little for this craft. Pick a clean, stretchy sock in orange, yellow, rust or any warm shade you like, though a plain cotton one works best. Keep about a cup of uncooked rice, a few sturdy rubber bands, a needle and thread, scissors, and a small stick, cinnamon stick or twig for the stem. Some green felt or ribbon makes a pretty leaf. Choose a sock without holes, since any gaps will let the rice spill out. Lay everything on a flat surface before you begin.
Cut and fill the sock
Cut off the top portion of the sock, roughly the leg part, so you are left with a tube about the size of your palm. Tie a tight knot or secure one end firmly with a rubber band. Turn the open end up and pour in the rice slowly, filling it until the sock turns plump and round. Do not overfill, or the fabric will become stiff and hard to shape. Pressing gently with your hands helps the rice settle evenly. Close the top with another rubber band to hold it in place.
Shape the pumpkin segments
This step gives the pumpkin its familiar look. Take a rubber band and wrap it around the middle of the filled sock, pulling it snug so the fabric bulges on both sides. Add two or three more bands in a criss-cross pattern, spacing them evenly, until the sock is divided into neat segments like a real pumpkin. Adjust the bands gently so the ridges look balanced. If you prefer a softer shape, use fewer bands. Take your time here, as small adjustments make a visible difference.
Add the stem and finishing touches
Trim the extra fabric at the top, tuck it inward and stitch it closed with a few firm stitches. Push a small twig, cinnamon stick or rolled piece of brown felt into the centre to form the stem, and secure it with a dab of glue or a couple of stitches. Cut a leaf from green felt or tie a small ribbon around the stem for a pop of colour. If you like, draw a small face with a marker or add a stitched smile for a playful version.
Display, store and enjoy
Once finished, remove the rubber bands if you like, or leave them on and tuck them beneath a decorative twine wrap for a rustic look. Arrange a few pumpkins in different sizes and colours in a basket, on a mantel or alongside diyas and flowers for a festive centrepiece. Keep them away from damp spots, direct heat and open flames. They also make charming handmade gifts. Stored in a dry box, they will stay soft and bright for the next season.
Disclaimer:
This article is intended for general informational and craft purposes only. Results may vary with the type of sock, filling and individual technique. Handle scissors, needles and glue with care, and supervise children during the activity. Keep small items such as rice, buttons and twigs away from young children and pets, and keep finished pumpkins away from lit diyas, candles and open flames.


