


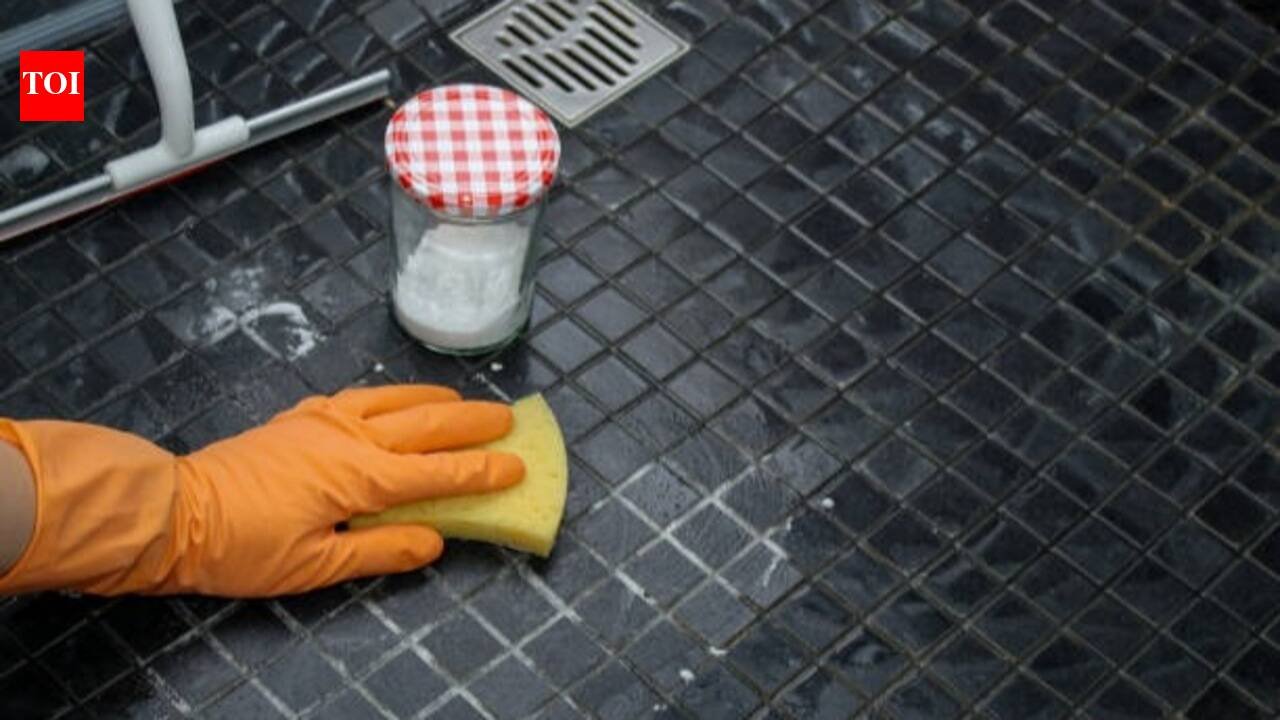
A bathroom floor goes through more daily wear and tear than almost any other surface in the house, constantly exposed to water, soap, shampoo, hair, and the everyday grime tracked in on bare feet. Over time, this combination leaves behind a stubborn layer of soap scum, mineral deposits, and dullness that regular sweeping or a quick mop simply cannot fix. The good news is that you do not need expensive chemical cleaners or professional help to restore that fresh, spotless look. With a few simple, budget-friendly hacks using ingredients most people already have at home, bathroom floors can be brought back to life. Here are some easy and effective ways to tackle dirt, soap residue, water stains, and grime for a floor that genuinely sparkles.
Start with a baking soda soak
Before scrubbing begins, sprinkle a generous layer of baking soda across the damp bathroom floor and let it sit for about fifteen to twenty minutes. Baking soda is naturally mildly abrasive and alkaline, which makes it excellent at breaking down grease, soap residue, and everyday grime without damaging tile or stone surfaces. This soaking step loosens stubborn dirt that has settled into the texture of the flooring, making the actual scrubbing process far easier and less time-consuming, especially in bathrooms that have not been deep cleaned in a while.
Use white vinegar for water stains
Hard water stains and mineral buildup are among the most stubborn issues bathroom floors face, often appearing as cloudy patches or a dull film that regular mopping cannot remove. White vinegar, being naturally acidic, works wonderfully to dissolve these mineral deposits. Mix equal parts vinegar and warm water, mop the floor thoroughly, and let it sit for a few minutes before rinsing. This simple solution restores shine to tiles and helps prevent the chalky white residue that hard water so often leaves behind over time.
Tackle grout lines with a toothbrush and paste
Grout is often the most neglected part of bathroom flooring, quietly trapping years of dirt, soap scum, and mould within its rough, porous surface. A thick paste made from baking soda and a small amount of water, applied directly onto grout lines and scrubbed with an old toothbrush, works remarkably well to lift this embedded grime. Because the bristles reach deep into the narrow lines, this method restores the original colour of grout far more effectively than a regular mop ever could.
Address soap scum with dish soap and warm water
Soap scum builds up gradually near shower areas and bathtub edges, forming a filmy, slightly sticky layer that makes floors look permanently dull no matter how often they are mopped. A strong dish soap, specifically formulated to cut through grease, works surprisingly well here. Mix a generous amount into warm water, mop thoroughly, and allow it to sit for a few minutes before rinsing clean. This breaks down the fatty residue in soap scum, leaving tiles looking noticeably brighter and less slippery underfoot.
Disinfect with diluted hydrogen peroxide
Bathroom floors are a breeding ground for bacteria and mould due to constant moisture, making regular disinfection just as important as visible cleanliness. Diluted hydrogen peroxide, mixed with water in a spray bottle, offers a safe and effective way to disinfect tiles and grout without the harsh fumes of stronger chemical cleaners. Spraying it after regular cleaning and allowing it to air dry for a few minutes helps eliminate lingering bacteria, keeping the space genuinely hygienic rather than just visibly clean.
Finish with a microfibre mop for streak-free shine
The final step in achieving a truly spotless bathroom floor often comes down to the tool used for drying and polishing, not just the cleaning solution itself. Regular cloth mops can leave behind lint, streaks, or excess moisture that attracts dirt again quickly. A microfibre mop, on the other hand, absorbs moisture efficiently and picks up fine dust particles without leaving residue behind. Using one as a final pass after cleaning helps lock in that streak-free, genuinely polished look for longer.
Disclaimer:
This article is intended for general informational purposes only and reflects commonly shared household cleaning practices. It is not professional advice on cleaning specific flooring materials, tiles, or stone surfaces. Cleaning results may vary depending on the type, finish, and condition of the bathroom floor.
