



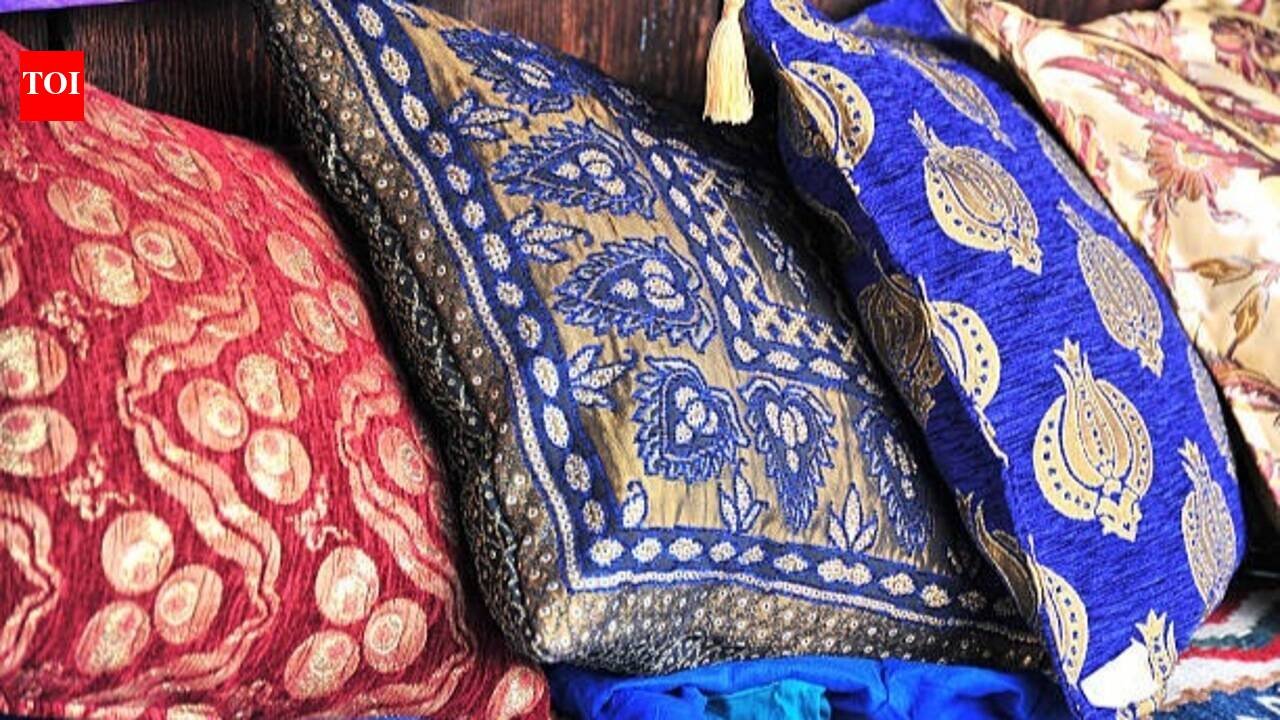
There’s always that one dupatta tucked away in the back of the cupboard, too pretty to throw out but too faded or torn to actually wear anymore. Instead of letting it sit there forever or quietly donating it, that leftover fabric can easily become something you’ll actually use every day, a set of cushion covers that instantly refresh your living room without spending a rupee on new decor. And the best part is you don’t need a sewing machine, a needle, or even basic stitching skills to pull this off. With a few no-sew techniques, a couple of household tools, and maybe twenty minutes, that old dupatta can have a whole new life sitting right there on your sofa.
Why dupattas work so well for this
Dupattas are genuinely perfect for this kind of upcycling because of how they’re made. Most are wide, long rectangles of fabric with finished edges, often already embroidered, printed, or bordered in a way that instantly makes them look decorative without any extra effort on your part. Unlike scrap fabric that needs hemming and shaping, a dupatta usually just needs to be folded and secured the right way, letting its existing pattern or embellishment become the star of the cushion cover. Lighter cotton or silk dupattas tend to work best for this, since they fold and wrap more easily than heavily embellished or very stiff fabrics.
Method 1: The envelope-fold technique using fabric glue
This is probably the simplest option if you want something that looks genuinely finished. Lay the dupatta flat and place your cushion in the centre, then fold the fabric over from both sides so it overlaps at the back like an envelope, similar to how a pillowcase closes. Instead of stitching this overlap shut, use a strong fabric glue along the edges where the fabric meets, pressing firmly and holding it in place for a minute or two until it bonds. Trim any excess fabric neatly with scissors before gluing, and let it dry completely, ideally overnight, before using the cushion so the bond has time to set properly.
Method 2: Knotting and tying for a boho look
If you like a slightly more textured, relaxed look, tying works beautifully and needs absolutely no tools beyond your hands. Place the cushion in the centre of the dupatta and gather the fabric at each end, twisting it slightly before tying it into a firm knot right against the cushion’s edge. This creates a bunched, rosette-like detail at both ends that looks intentional and stylish rather than makeshift, especially with dupattas that have contrasting borders or tassels that hang nicely once knotted. This method works particularly well for smaller, square cushions and gives you a cover you can easily untie and readjust whenever you want.
Method 3: Using safety pins or brooches for an easy no-glue option
For anyone who’d rather avoid glue altogether, safety pins or decorative brooches offer a surprisingly elegant alternative. Wrap the cushion in the dupatta the same way you would for the envelope fold, but instead of gluing the overlapping edges, secure them together using a few sturdy safety pins hidden along the seam. If you want to dress it up a little, swap the safety pins for a couple of decorative brooches or fabric pins placed along the overlap, which can double as an intentional design detail rather than something you’re trying to hide. This method also has the advantage of being fully reversible, since you can easily remove the pins and reuse the dupatta for something else later.
Method 4: The double-layer tuck-in method
For dupattas that are long enough, this technique creates a cover with no visible seams, glue, or knots at all. Lay the cushion in the centre of the fabric and fold one end over the top, then fold the opposite end over that, so the two ends overlap generously in the middle rather than at the very edge. Tuck the loose overlapping fabric underneath the cushion itself, using the cushion’s own weight to hold everything in place. It takes a little practice to get the tension right so it doesn’t loosen over time, but once you do, it gives a clean, tailored look that’s easy to redo whenever you want to switch up the fabric.
Mixing and matching for a coordinated look
One of the most satisfying parts of this project is how easily it lets you mix patterns and textures across a set of cushions without anything looking mismatched. Pairing a heavily embroidered dupatta with a plainer one, or using different dupattas in complementary colours across several cushions, gives a room an eclectic, curated feel rather than a matchy-matchy one. If you have a few dupattas in similar colour families but different patterns, alternating them across a sofa or bed creates the kind of layered, lived-in look that usually takes real effort to style intentionally.
Making the covers last longer
Since these covers rely on glue, knots, or tucking rather than actual stitching, a little care goes a long way in keeping them looking neat over time. Avoid over-washing covers made with fabric glue, since repeated washing can weaken the bond, and instead spot-clean when needed. For knotted or tucked versions, simply retying or re-tucking every so often keeps them looking fresh, especially if the cushion gets moved around or plumped up regularly. Choosing sturdier, slightly heavier dupatta fabrics also tends to hold these no-sew methods better than very delicate or sheer ones, which can fray or slip out of place more easily.
A simple way to bring old fabric back to life
What makes this idea so appealing is how little it actually demands, no sewing machine, no tailoring skills, and barely any money spent, just a dupatta that was otherwise headed for the back of a cupboard or the donation pile. Within half an hour, you can turn something forgotten into a genuinely stylish addition to your home, one that carries a bit of personal history in its fabric that a store-bought cushion cover never could. It’s a small project, but the kind that makes a noticeable difference every time you walk into the room.
Disclaimer:
This article is intended for general informational and craft purposes only. Results may vary depending on fabric type, cushion size, and the specific no-sew method used. Test fabric glue on a small hidden area first to check for colour bleeding or damage before applying it more broadly.
